Our Services

QUALITY: WORK & MATERIAL
-
Far too often, we see driveways installed by spreading a thin layer of 5/8” on top of grass or dirt. While this might look fine at the time of installation, shortly after the organics and soft material will settle and cause pot holes or soft spots, creating issues for the lifetime of that driveway.
We build our driveways and roads by digging down to solid material first, removing the organics (i.e. grass/sod, bushes, roots, etc.), digging out any soft spots we find along the way. We then lay down a layer of base rock, and fill any of the soft areas that were dug out with base rock as well. Removing organics will prevent settling… aka potholes… later down the road. (See what we did there?)
-
Drainage is one of the most important things you can do at your site. As the old timers say: “move the water or it’ll move you!” Drainage prevents water intrusion on many levels: in your septic drainfield (ground water can cause premature failure), under your house (which can cause mold, floor buckling, flooding, and a whole lot of other issues), and driveway washout, just to name a few.
There are different types of drainage systems used for different things, but here are a few: footing drains, french drains, swails, storm water systems, and retention ponds.
Footing drains are standard on all of our projects. We have dug up foundations and installed footing drains on houses with flooding issues that didn’t opt for them from the start, and take our word for it: it’s A LOT of extra (and unnecessary) messy work and money! Think of how gutters move water away from a foundation. Gutters are not common in this area because of snow damage, but footing drains have the same concept except they are underground and catch the groundwater. Ultimately, they move the water before it reaches your house and/or property.
-
It is crucial that your home sits on a well built foundation. It’s not something you can change later, like a paint color. It must be done correctly from the beginning.
Compaction & fill: Some projects require fill (see more info in section below about county requirements for fill). As you fill an area, it must be compacted in lifts (using a compactor such as a diesel plate, hoe pack, roller, etc.) If compaction is not done correctly, concrete will settle and crack/break over time. Although a material such as rock or screenings are usually our first choice as a good structural fill, dirt on site may be used as fill if it is structural and organics are not present. Dirt usually needs about 1 year to settle out though, unless it is compacted in lifts.
-
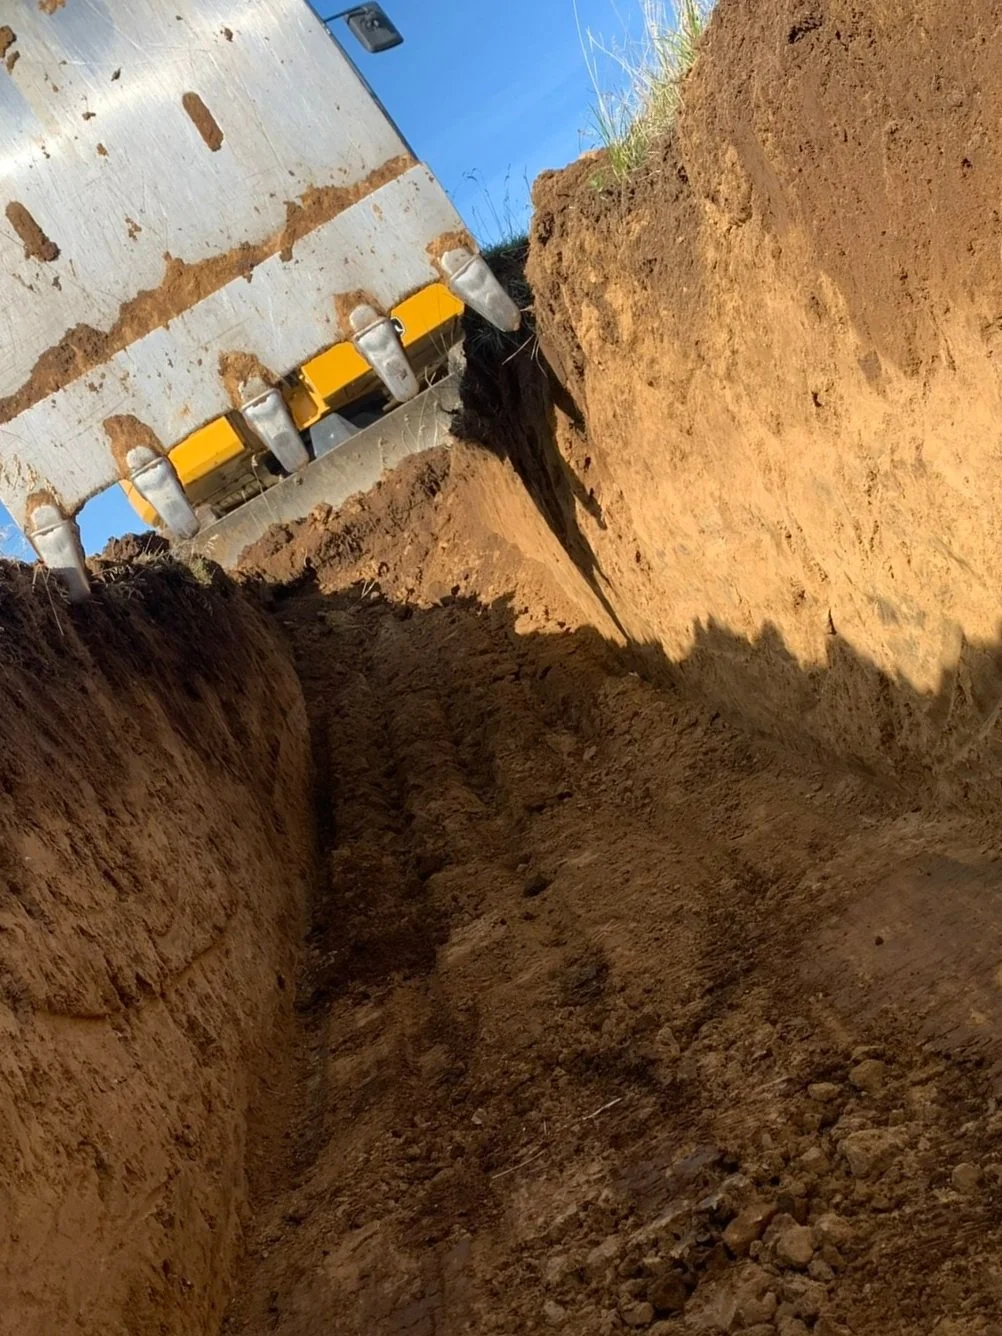
We bed utilities with either sand, pea gravel, or screenings unless your dirt is suitable enough to use as backfill. This is to prevent large rocks in the soil from breaking the conduit.
Fun fact: it is also helpful for future digging, since you can see the difference in material and see where the ditch line is at, making it easier to locate conduit and pipe before hitting it!
-
Proper concrete prep is a critical step as well. Just like we mentioned above, keeping organics out is important to prevent settling and cracking concrete. After the removal of organics we will spread rock with fines in it, rake it out perfectly to grade using a laser (as Aaron always says “rock is cheaper than concrete”) and then water it. If your wondering what “fines” are, they are bits of smaller rock/dust. Fines settle in and when watered they help the rock lock together. It is then compacted with a smaller compactor (such as a jumping jack and/or plate compactor) and now you’re ready to pour concrete!
Worth noting: we don’t use dirt under side walks-only structural material like rock with NO organics. We are not willing to take the risk of organics breaking down and settling, leaving you with cracked concrete. On our prep for garage/shop floors/slab on grade or a smaller area that needs to be filled, we use pea gravel because it is self compacting. Then we will put a cap of finer rock on top and compact it.
-
So often on septic installs the attention to detail is overlooked, causing major issues in the future and resulting in costly repair bills. We can confirm this because of what we’ve seen on the many repairs we’ve done. Repairs expose the flaws. Far too often the repair is something totally preventable, that had gone overlooked during installation, and is now costing thousands of dollars for an unsuspecting homeowner.
It is an absolute necessity for an installer to give extra care and attention to their work. The quality of material is equally as important. Aaron has extensive knowledge of septic systems as well as proper installation techniques and materials, thanks to growing up in his family business that specialized in septic systems.
Tanks: We only use concrete tanks, except on rare occasions when we have to use a plastic tank, in which case we use the Norwesco brand (or similar) one piece tank. We will not use the plastic 2 piece tanks with a seam in the middle. Are they easier to install? Yes, they’re easy to move around by hand, that’s why contractors like using them. Will they cause the homeowner issues in the future, requiring repairs? Yes in almost all cases, they will. This has been our #1 repair, and if done right, requires a costly full tank replacement. The 2 piece tanks are suppose to be backfilled in a special way according to the manufacturer, which almost never happens. Even if it is done correctly, the seam in the middle of the tank will warp and leak, causing water intrusion and premature failure. Water can come from the surface, such as snow melt, or underground in areas with high ground water. Water can also puddle around the tank if it was backfilled incorrectly. That is why we only use tanks that are water tight.
Lids: Water tight lids must be used as well. We use Orenco brand fiberglass lids for this reason. Some contractors choose other lids that are light duty, which are also prone to leaks.
Backfill: First of all, we dig our tank holes tight to prevent overuse of backfill material. We then set the tank on a perfectly level bed of pea gravel, then we backfill our tanks and pipe with pea gravel. Pea gravel is self compacting, and will prevent the pipes from settling and breaking, as well as protect the tank from any rocks that can damage the tank.
By using quality materials and installation techniques, future repairs and issues can be prevented. Is it more expensive? Well, like the old saying goes, you get what you pay for. But in this case it is actually not much more expensive than the low quality materials. We’re talking a few hundred bucks that will save you thousands in the (near) future. The concrete tanks are actually cheaper than the plastic tanks, they are just a little more inconvenient for the contractor to deal with since you have to set them with an excavator or tank truck. We say that inconvenience is worth it for our customers!
Future issues can be prevented with a little extra time and attention given to the details.
Instead of looking at our work as “good enough” we put in the extra effort it takes to make sure it lasts, paying close attention to the smallest details and sourcing the best materials.

Guide to New Construction:
SITE WORK
First stage of construction: EXCAVATION
The building process can be stressful, but that’s why it’s so important to have a general contractor and their trusted sub contractors doing the work on your project. If you need any recommendations, feel free to ask!
Your general contractor will work with us and make sure the following details are covered, so you don’t have to sweat it.
But in case you’re curious, here’s some general info about the process.
Site work order of events
Provide us with copy of your project plans. Meet together (or with your general contractor) at site and go over our questions/paperwork.
Receive and accept estimate. (This is the time to make any final adjustments, after the contract is signed it will be a change order and more paperwork for both of us!)
Contract signed + 50% down payment. We’ll get you scheduled at this time, call in locates, and order your materials.
We will get to work (site work generally happens in the order as listed on this page).
Final payment due (remaining 50%+any change orders) after backfill.
We’ll be on our way, and you’ll be onto the next phase of your project!
P.S. What are locates?
Don’t worry, we take care of this! Utilities like power, phone, water, gas, etc. are located for us, so we don’t dig them up.
We paint out the dig area and call them in. Yes they are required, no there aren’t any exceptions. It takes 2 full business days to complete.
The locate company will come out to your property and mark the underground utilities.
We source quality materials
Pipe & Fittings: 3034 heavy-wall pipe prevents collapsing & Brass waterline fittings prevents leaks
Septic: Fiberglass lids & concrete tanks prevents water intrusion, prolonging the life of your septic system
Rock & Material: Each rock pit produces a different quality or color of material based on its location. One might produce a 5/8” that binds together perfectly, but be lacking when it comes to the compactability of fill material. We make sure to choose the rock pit that produces the best quality material specific to the type of job!
Site work: Phase 1
1. Driveway: Construction Entrance
The first step: Our construction entrances are built with base rock first. The rock will get packed in throughout construction as trucks drive across, leaving you with a well compacted solid base for your road or driveway. Once the construction entrance is built, your general contractor will have it inspected by the county.
Kittitas County Road Standards:
https://www.co.kittitas.wa.us/uploads/cds/comp-plan/2019/docket-items/Docket%20Item%20No.%2019.08.pdf
Kittitas County Grading Requirements
https://www.co.kittitas.wa.us/public-works/development/grading-permit.aspx
2. Dig Foundation
You’ve worked hard to get to this point, finally breaking ground! Ask for photo updates if you’d like.
The foundation will be dug according to your approved plans: traditional footings, basement, or slab on grade.
Unforeseen issues: unfortunately, part of construction includes issues that you just can’t see from the surface. Here are some things we might run into that would require a change order: hard digging/use of a rock breaker, groundwater, or heavy material just to name a few. We will contact you and arrange a change order before moving forward.
Excess dirt: there may be extra dirt after your backfill. You can choose to have excess dirt hauled off, or dispersed to a location on your site.
Now we wait… Another contractor will pour the concrete, so we’ll either work on utilities or come back when the concrete is finished.
Site work: Phase 2
3. Utilities: power, gas, sewer, water, internet, phone, irrigation
When we return for backfill, we will work on installing utilities. If utilities need to cross the road, an asphalt patch or road repair may be required, as well as a right of way permit and/or traffic control.
Power/Internet/phone: We’ll ditch and install conduit (with pull string if required) and then individual companies will come out to install their utilities.*
Sewer: We’ll either tie into the city sewer or into your septic system. If the septic system is not installed yet, we’ll leave a stub and tie it in later.
Water: We’ll tie into the water and hookup the water meter. Depending on if your property is located in the county or city, they may supply the water meter (but not the setter and other fittings-we’ll take care of that).
Gas/Propane: We can dig your propane tank hole, and dig the ditch for a propane or gas line.*
Irrigation: If you choose to have irrigation at your property, we can dig the ditch and install the pipe/valve.
Optional: 1. Frost free hydrants 2. RV hookups: frost free water hydrants, sewer dump 3. Extra clean-outs
*You and/or your general contractor are responsible for coordinating with these companies for their services.
Note: We install the deepest utilities first, so we don’t dig through them later. If there are any utilities crossing your road/driveway, we prefer to do this step first- before the construction entrance goes in.
4. Backfill Foundation/Footing Drains
The foundation will be backfilled after concrete is poured and has had time to cure.
Footing drains will be installed at this time. We use 3034 perforated pipe that goes all the way around the foundation of the building. It is then covered with filter fabric, and backfilled with washed drain rock. This will ensure the water is routed away from your house.
(Please see the above section “Drainage” to learn about the benefits of footing drains)
5. Concrete Prep: garage/shop floor, patio, porch, sidewalks
After backfilling the foundation, we will move on to concrete prep: spread rock, fill any low areas with structural material (compacting in lifts), fill garage and any areas that are slab-on-grade with pea gravel (not dirt/organics*), rake the rock to grade using a laser, and then water and compact.
*This whole process is explained further in the section above.
Optional Tip: Think about adding a drain to your shop/garage floor!
6. Septic System
Kittitas County OSS Permits:
https://www.co.kittitas.wa.us/health/services/liquid-waste.aspx
FAQ: How is the type of septic system determined for your specific property? That depends on a few things, but soil types, lot size, and groundwater play the biggest role.
Common systems we install:
Gravity
Pressure
Alternative- most common treatment units: NuWater, Fast, Advantex
Sand Mounds, Oscar, and Glendon systems
Maintenance programs: They are actually not required in this county yet, but they are extremely important to keep your new system running smoothly. The last thing you want to do is deal with septic issues! We can provide this service, or Duane from Henley’s Septic Service offers it as well.
Process of installation: (We do offer a package to take care of all the paperwork, so you don’t have to!)
1. Fee+site eval paperwork packet turned into county 2. Schedule test holes (we’ll do this!) 3. Dig test holes/county site eval completed 4. Send completed site eval to designer, pay for and receive design 5. Purchase permit from county 6. Quote (from us) for septic, based off design>Accept quote>50% down payment+signed contract>schedule installation
We’ll then order material, call locates (unless they have already been submitted and are still active), install the septic system and schedule the county inspection. We will draw up an as-built, and provide it to the county at the time of inspection. After the inspection is passed, it’s time for backfill. Final payment will be due after backfill. Then the final/closeout permit is issued, and emailed to you.
Our septic systems come with a 1 year warranty in the rare occasion an issue may arise or to cover a factory defect on parts.
Site work: Phase 3
7. Driveway: Top Coat
After construction is finished, a top coat of your choice (usually 5/8” minus or 1-1/4”) is graded, and the final driveway can be approved.

